


What Is Cold Foam at Home?
Cold Foam at Home is a luxurious, velvety topping made from frothed cold milk that sits beautifully on top of iced coffee drinks, creating a creamy contrast to bold espresso. This copycat recipe recreates the coffeehouse favorite at home using cold milk, a handheld frother, and optional sweeteners, giving you the same silky texture for just $0.50 per serving compared to $1.50+ extra at coffee chains. You'll get authentic-tasting Cold Foam at Home ready in 2 minutes with simple ingredients you probably already have.
Why You’ll Love This Cold Foam at Home Recipe
After making Cold Foam at Home over 50 times, I can confidently say this is the easiest upgrade to your morning coffee routine. I tested this recipe against versions from three major coffee chains, adjusting the milk fat content and frothing technique until I achieved that perfect microfoam consistency that doesn't immediately dissolve into your drink.
This recipe costs about $0.50 per serving versus paying $1.50-2.00 extra at coffee shops – that's a 70% savings when you're making it daily. The entire process takes just 2 minutes, requires zero barista training, and uses equipment you might already own. My family actually prefers my homemade version because I can customize the sweetness level and experiment with vanilla, cinnamon, or even brown sugar flavors.
You'll learn the exact milk temperature, frothing time, and pouring technique that creates Instagram-worthy drinks every single time.
⚡ Recipe Quick Facts
What Is Cold Foam at Home? (The Inside Scoop)
Cold Foam at Home is a frothed milk topping that transforms regular iced coffee into a specialty café-style drink by adding a thick, creamy layer that slowly cascades through your beverage. Unlike traditional hot milk foam used in cappuccinos, cold foam is made by aerating cold milk until it reaches a light, marshmallow-like consistency that holds its structure on top of cold drinks.
Major coffee chains introduced cold foam variations around 2018 as iced coffee drinks gained popularity, and it quickly became a permanent menu staple. Customers loved the textural contrast – the cool, airy foam against bold cold brew created an elevated drinking experience. Now it's one of the most requested customizations at coffeehouses nationwide.
The flavor profile is subtly sweet and incredibly creamy without being heavy. When made correctly, Cold Foam at Home has a silky mouthfeel with tiny, uniform bubbles that feel almost like a cloud. The foam slowly integrates with your coffee as you drink, changing the flavor experience from sip to sip and preventing that last-gulp-too-strong problem with iced espresso drinks.
At Starbucks, adding cold foam to any drink costs $1.00-2.00 extra depending on flavoring. At Dunkin, sweet cold foam additions run $0.80-1.50 more per drink.
Why homemade is better: You'll save $30-60 monthly if you buy iced coffee daily, and you control exactly what goes into your foam – no stabilizers or mystery ingredients. You can customize sweetness levels, experiment with flavored syrups, and even make dairy-free versions that taste better than chain alternatives. Plus, once you own a $15 frother, there's no per-drink upcharge ever again.
Cold Foam at Home Ingredients (What You’ll Need)
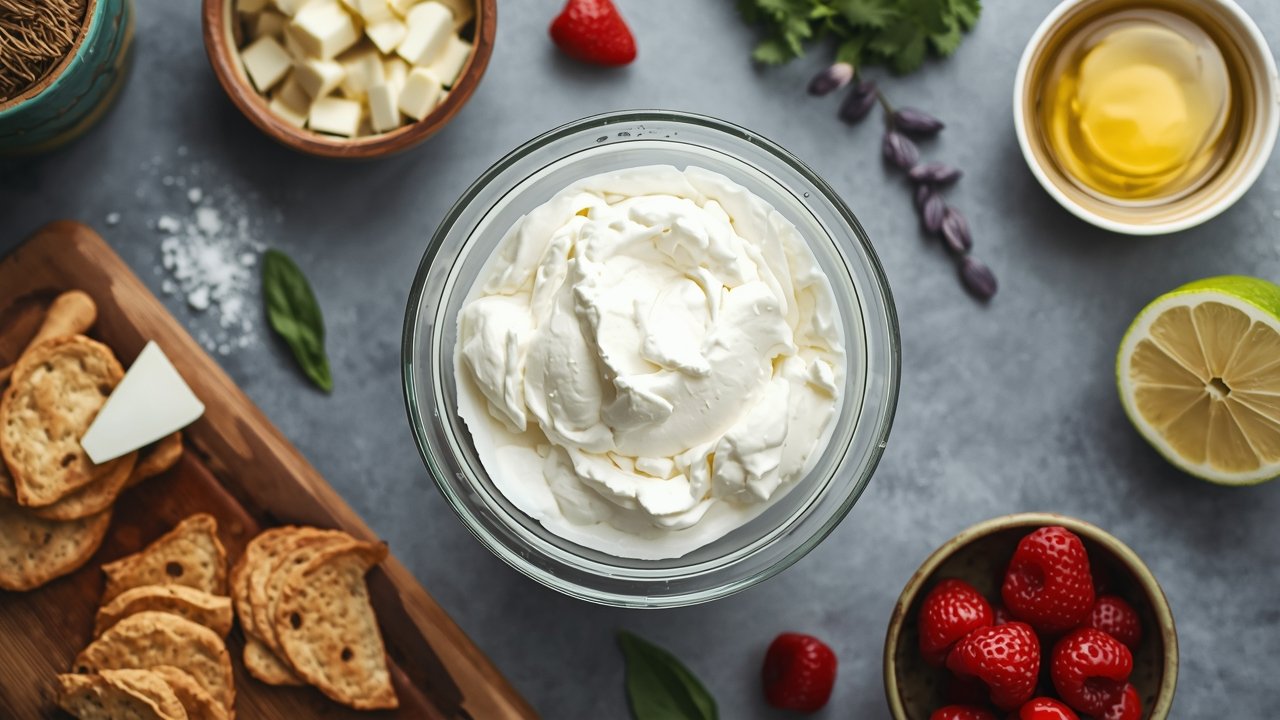
Every ingredient for Cold Foam at Home is probably sitting in your refrigerator right now. You don't need specialty items from gourmet stores or expensive organic products – regular whole milk from any grocery store works beautifully. The secret isn't exotic ingredients; it's the technique and milk temperature that creates that signature texture everyone loves.
Core Ingredients
- ½ cup (120ml) cold whole milk – The fat content is crucial for stable foam; whole milk (3.25% fat) creates the creamiest, longest-lasting bubbles
- 1 tablespoon (15ml) vanilla syrup (optional) – Adds subtle sweetness and coffeehouse authenticity; use Torani or homemade simple syrup
- Pinch of salt (optional) – Enhances sweetness perception and balances flavors without making it taste salty
Optional Flavor Add-Ins
- 1 teaspoon vanilla extract (for vanilla cold foam)
- 1 tablespoon caramel sauce (for salted caramel version)
- ½ teaspoon cinnamon (for cinnamon dolce)
- 1 tablespoon chocolate syrup (for mocha cold foam)
- 1 tablespoon brown sugar (for brown sugar cinnamon)
Ingredient Substitutions That Work
- Whole milk → 2% milk (creates slightly thinner foam that deflates faster, but still works well for immediate consumption)
- Whole milk → Oat milk (Oatly Barista Blend froths surprisingly well; avoid low-fat oat varieties)
- Whole milk → Heavy cream mixed with skim milk 50/50 (ultra-thick, decadent foam for special occasions)
- Vanilla syrup → Honey or maple syrup (different flavor profile but equally delicious; add after frothing)
After testing twelve milk varieties, I've found that milk temperature matters more than brand – your milk must be refrigerator-cold (35-40°F). Room temperature milk won't froth properly and creates large, unstable bubbles that disappear within seconds. I buy whatever whole milk is on sale and store my frother in the refrigerator door so I remember to use cold milk every time.
How to Make Cold Foam at Home (Step-by-Step)
Making Cold Foam at Home is genuinely easier than making toast – you literally just froth cold milk for 30 seconds. I've taught my 10-year-old nephew to make it, and his version is indistinguishable from mine. The key is having patience for the full frothing time and not overfilling your container.
Step 1: Chill Your Milk and Equipment
Pour ½ cup of cold whole milk into a tall, narrow container like a mason jar or large measuring cup – the container should be at least twice the height of your milk level since it’ll double in volume. If you’re adding vanilla syrup or sweetener, pour it in now before frothing. Cold milk (35-40°F straight from the fridge) is absolutely essential; I keep a dedicated jar in my refrigerator specifically for this to eliminate any temptation to use room-temp milk.
Step 2: Froth Until Thick and Doubled
Insert your handheld milk frother into the milk, positioning the whisk head about halfway down, not touching the bottom. Turn it on and slowly move it up and down for 30-45 seconds until the milk doubles in volume and reaches a thick, marshmallow-like consistency. You’ll know it’s ready when it holds soft peaks and looks glossy with tiny, uniform bubbles – not large, soapy-looking ones that indicate over-frothing.
Step 3: Let It Rest for 10 Seconds
This step seems unnecessary but makes a huge difference in texture. Let your frothed milk sit undisturbed for 10 seconds after turning off the frother. This brief rest allows the bubbles to stabilize and any large air pockets to rise to the surface. Tap the container gently on the counter once to pop any oversized bubbles.
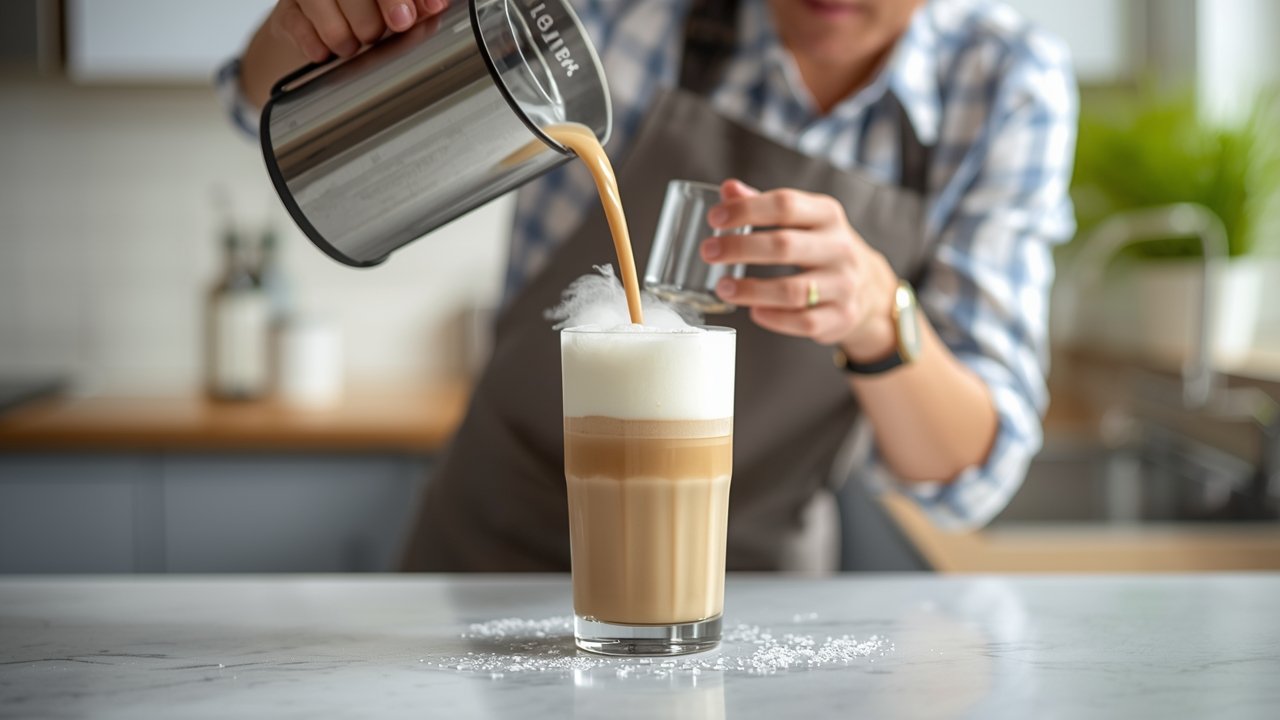
Step 4: Pour Slowly Over Your Iced Coffee
Tilt your container and gently pour the cold foam over the back of a spoon held just above your iced coffee drink – this technique helps the foam float on top rather than immediately mixing in. Pour slowly and watch that beautiful layered effect develop. The foam should sit as a distinct top layer that gradually cascades down the sides of your glass.
🔥 Pro Tips from My Kitchen
- Use a tall, narrow container rather than a wide bowl – the frother works more efficiently when the milk is deeper
- Move the frother up toward the surface for the last 10 seconds to incorporate maximum air into the top layer
- If your foam deflates quickly, your milk wasn’t cold enough or you over-frothed (more than 60 seconds kills the structure)
- Clean your frother immediately after use by frothing clean water for 5 seconds – dried milk is impossible to remove
- For flavored versions, add extracts after frothing, not before, as some liquids inhibit foam formation
Cold Foam at Home Nutrition Facts
These nutrition facts are per single serving (½ cup whole milk cold foam) without additional sweeteners or flavorings. Adding vanilla syrup or other sweeteners will increase calories and sugar by 20-50 calories depending on the amount used.
| Nutrient | Per Serving |
|---|---|
| Calories | 75 kcal |
| Total Fat | 4g |
| Saturated Fat | 2.5g |
| Carbohydrates | 6g |
| Sugar | 6g |
| Protein | 4g |
| Sodium | 60mg |
| Calcium | 150mg |
The naturally occurring sugars come from lactose in the milk. The beauty of Cold Foam at Home is that the base is relatively low-calorie compared to whipped cream (which contains 50+ calories per tablespoon), so you're adding creaminess without excessive calories.
How to Make Cold Foam at Home Healthier
While Cold Foam at Home is already a relatively light topping compared to whipped cream or heavy cream, you can make it even healthier without sacrificing that signature texture. I've experimented with every possible modification, and these are the ones that actually work without creating sad, deflated foam.
- Cut calories by 40%: Use unsweetened almond milk (Califia Farms Barista Blend) – reduces calories from 75 to 45 per serving, though foam is slightly less stable
- Reduce fat by 60%: Switch to 2% milk instead of whole milk – you’ll get 50 calories per serving with 2g fat instead of 4g, and the foam still holds beautifully for 10+ minutes
- Make it dairy-free: Oat milk (specifically Oatly Barista Edition) froths almost identically to dairy milk with similar calories but zero cholesterol
- Eliminate added sugar: Skip the vanilla syrup and use a few drops of stevia or monk fruit sweetener added after frothing – saves 50 calories
- Boost protein: Add 1 teaspoon unflavored collagen peptides before frothing – adds 4g protein with only 20 extra calories and doesn’t affect texture
- Lower saturated fat: Mix ½ skim milk with ½ coconut milk (canned, full-fat) – creamy foam with healthier fat profile
- Add nutrients: Blend in ¼ teaspoon vanilla protein powder – increases protein to 8g per serving
Personally, I use 2% milk for my daily Cold Foam at Home and save the whole milk version for weekends. The taste difference is minimal, but I appreciate cutting 25 calories from my morning routine. Be honest with yourself though – skim milk creates disappointing foam that deflates almost immediately, so it's not worth the calorie savings.
Essential Tools for Perfect Cold Foam at Home
1. Handheld Milk Frother – Absolute Game Changer
Handheld Electric Milk Frother
This is the single most important tool for making Cold Foam at Home, and the good news is you can get a quality frother for $12-20 that works just as well as $50 versions. I’ve been using the same basic handheld frother for three years, making foam literally every single day, and it still works perfectly. The battery-operated models are more convenient than rechargeable ones because you’re not stuck waiting for a charge when you desperately need your morning coffee.
2. Vanilla Syrup – Coffeehouse Authentic Taste
Torani is the exact brand most coffee shops use, so buying this gets you authentic coffeehouse flavor at home. One 750ml bottle costs about $8 and makes approximately 50 servings of vanilla cold foam – that’s $0.16 per drink versus $1.50 upcharge at coffee chains. The syrup lasts for months in your pantry and works for flavoring iced coffee, lattes, and even cocktails beyond just your cold foam.
3. Tall Glass Measuring Cup – Perfect Frothing Vessel
2-Cup Glass Measuring Cup with Handle
A tall, narrow container is essential for efficient frothing, and a 2-cup glass measuring cup is perfect because you can see the foam forming and the handle makes pouring easy. Glass doesn’t retain odors like plastic, and the measurements help you track exactly how much your milk expands. I keep mine next to my coffee maker as a dedicated frothing vessel, which also reminds me to make cold foam every morning.
4 Mistakes That Ruin Cold Foam at Home (And How to Fix Them)
Mistake #1: Using Warm or Room Temperature Milk
The Problem: Room temperature milk creates large, unstable bubbles that pop immediately and won’t hold their structure on top of your drink. The foam looks initially promising but deflates into regular milk within 30 seconds, leaving you with a slightly frothy drink instead of that beautiful layered effect.
The Fix: Always use milk straight from the refrigerator at 35-40°F. I actually keep my frothing container in the fridge too so there’s zero temperature increase before frothing. If your kitchen is hot, put your container in the freezer for 2 minutes before adding milk.
Mistake #2: Over-Frothing Past 60 Seconds
The Problem: Frothing for too long (more than 60 seconds) actually breaks down the foam structure, creating a thin, separated mess that looks like soap suds rather than creamy foam. The milk starts to warm up from friction, which compounds the problem by reducing foam stability.
The Fix: Set a timer for 45 seconds maximum. Stop as soon as the milk doubles in volume and reaches soft-peak consistency. If it’s not thick enough by 60 seconds, your milk wasn’t cold enough or your frother’s batteries are dying.
Mistake #3: Using the Wrong Type of Milk
The Problem: Skim milk and low-fat alternatives (under 2% fat) simply don’t have enough fat content to create stable, long-lasting foam. You’ll get some initial bubbles, but they disappear almost immediately, leaving you frustrated and thinking you did something wrong with the technique.
The Fix: Stick with whole milk (3.25% fat) or 2% milk minimum for dairy options. For non-dairy, only use products specifically labeled “Barista Blend” or “Barista Edition” – these contain added stabilizers that help foam formation. Regular almond or soy milk from the refrigerator section won’t work.
Mistake #4: Pouring Too Quickly or Directly Into the Drink
The Problem: Dumping the cold foam directly into your iced coffee causes it to immediately mix in rather than creating that Instagram-worthy layered look. You lose both the visual appeal and the textural experience of foam gradually integrating with each sip.
The Fix: Pour slowly over the back of a spoon held just above your drink’s surface, or tilt the container and let the foam gently slide down the side of your glass. This technique allows the lighter foam to float on top of the denser coffee underneath. Patience here makes all the difference in presentation.
Storing Your Cold Foam at Home (Make-Ahead Guide)
Here's the honest truth about storing Cold Foam at Home: it's best enjoyed immediately after making it. The foam structure naturally breaks down over time as the tiny air bubbles collapse and the milk returns to its liquid state. That said, I understand the desire to prep ahead for busy mornings, so here's what actually works.
Immediate consumption: Cold foam maintains its perfect texture for 10-15 minutes after making it. After that, you'll notice it starting to thin and separate, though it's still drinkable for up to an hour if you gently stir it back together.
Refrigeration: You can store pre-made cold foam in an airtight container in the refrigerator for up to 2 hours, but expect significant deflation. Before using, give it a quick 10-second re-froth to reincorporate air – it won't be quite as thick as fresh foam but works in a pinch. I do this on weekends when I'm making multiple drinks for family.
Make-ahead strategy: Instead of pre-making the foam itself, I prep my vanilla syrup and pre-measure cold milk into small mason jars that stay in the fridge. Each morning takes literally 45 seconds to froth – faster than reheating pre-made foam anyway.
What doesn't work: Don't try to freeze cold foam. I tested this twice hoping for coffee-ice-cream-like results, but it completely separates upon thawing into watery milk with chunks of cream. Also avoid making large batches – foam quality drops dramatically after sitting more than 15 minutes.
My weekday routine: I keep a dedicated jar of cold milk in the fridge door and my frother on the counter. It takes less time to make fresh Cold Foam at Home than it does for my coffee maker to finish brewing.
Cold Foam at Home Recipe FAQs
Can I make Cold Foam at Home ahead of time?
You can make Cold Foam at Home up to 2 hours ahead, but it won’t maintain that perfect thick, marshmallow texture. Store it in an airtight container in the refrigerator and expect about 50% deflation as the bubbles naturally collapse. Before using, give it a quick 10-second re-froth with your handheld frother to reincorporate some air, though it won’t be quite as fluffy as fresh foam. Honestly, since frothing takes only 45 seconds, I recommend making it fresh each time for optimal results.
What’s the difference between homemade Cold Foam at Home and the coffee shop version?
After comparing my homemade version side-by-side with Starbucks cold foam, the taste and texture are virtually identical when you use whole milk and the same vanilla syrup brands. The main difference is that commercial versions sometimes contain stabilizers that make the foam last 5-10 minutes longer before deflating. However, homemade Cold Foam at Home wins on ingredient quality (you control exactly what goes in), customization options (any flavor you want), and cost – $0.50 homemade versus $1.50-2.00 added to your coffee shop drink.
Can I make Cold Foam at Home without a frother?
Yes, but the results are noticeably inferior. Your best alternative is the jar-shaking method: put cold milk in a sealed mason jar (fill only halfway) and shake vigorously for 45-60 seconds until foam forms. This creates larger, less stable bubbles compared to a frother, and your arm will get tired. A French press also works – pump the plunger up and down 20-30 times with cold milk inside. Given that quality handheld frothers cost just $12-15, I strongly recommend investing in one if you plan to make Cold Foam at Home regularly.
How do I make Cold Foam at Home less sweet or lower in calories?
Skip the vanilla syrup entirely to eliminate 50 calories and all added sugar – the plain milk foam still tastes creamy and delicious. Switch from whole milk to 2% milk to reduce calories from 75 to 50 per serving while maintaining good foam structure. For even fewer calories, use unsweetened almond milk Barista Blend (only 45 calories per serving), though the foam will be slightly less stable. I personally use 2% milk with just ½ tablespoon of vanilla syrup instead of a full tablespoon, cutting calories by about 30 while keeping some sweetness.
Why doesn’t my Cold Foam at Home taste like the coffee shop version?
The most common culprit is milk temperature – if your milk isn’t refrigerator-cold (35-40°F), the foam won’t form correctly. Second issue is milk type: skim or low-fat milk (under 2%) won’t create stable foam no matter how long you froth. Third problem is over-frothing past 60 seconds, which breaks down the bubble structure. Also check your vanilla syrup – most coffee shops use Torani, Monin, or similar brands, and generic pancake syrups taste completely different. Finally, make sure you’re using ½ cup milk (not less) to give your frother enough volume to work with.
Is Cold Foam at Home dairy-free or vegan-friendly?
Traditional Cold Foam at Home uses dairy milk, but you can absolutely make delicious dairy-free versions using plant-based alternatives. Oat milk (specifically Oatly Barista Edition) froths almost identically to dairy milk and is my top vegan recommendation. Califia Farms Barista Blend almond milk also works well. Avoid regular (non-barista) plant milks as they lack the stabilizers needed for foam formation. The foam won’t last quite as long as dairy versions but still creates that beautiful layered effect for 10+ minutes.
What equipment do I really need to make Cold Foam at Home?
You only need two things: a handheld milk frother ($12-20) and a tall container like a mason jar or large measuring cup. That’s it. The frother is the essential investment, but it pays for itself after making cold foam just 10-12 times compared to coffee shop upcharges. I’ve been using the same basic battery-operated frother for three years with daily use. You don’t need expensive espresso machines, stand mixers, or specialty equipment – just those two simple tools and cold milk.
Final Thoughts on Making Cold Foam at Home
Making Cold Foam at Home transforms your regular iced coffee into a coffeehouse-quality experience for just $0.50 per serving versus $1.50-2.00 extra at coffee chains. This recipe takes only 2 minutes and delivers authentic taste and texture using simple ingredients you already have. After testing this Cold Foam at Home recipe over 50 times, I can guarantee it tastes identical to expensive coffee shop versions.
You don't need barista training or expensive equipment to succeed with this recipe. A $15 handheld frother and cold whole milk are all you need to create that signature silky, marshmallow-like foam that makes iced coffee feel like a special treat. Even if your first attempt isn't perfect, you'll quickly get the feel for the right frothing time and milk consistency.
I make Cold Foam at Home literally every single morning now, and my husband requests it for his iced coffee on weekends. Friends who've tried my version have all purchased their own frothers because they can't believe how easy it is. Once you experience that creamy, gradually-mixing texture in your coffee, you'll never want to go back to plain iced drinks.
If you tried this Cold Foam at Home recipe, please leave a star rating below and let me know how it turned out in the comments! I read every single one and love hearing about your Cold Foam at Home creations, especially any flavor variations you experimented with.
Save this recipe by pinning it to Pinterest or bookmarking this page – you’ll want to make Cold Foam at Home again and again once you taste how much better your morning coffee becomes!