
If you’re obsessed with copycat Starbucks drinks but tired of spending $7 per cup, you’re in the right place. I’ve been recreating these iconic beverages at home for years, and honestly? Most of them cost less than $2 to make and taste even better than the original.
In this guide, I’m sharing my 15 favorite Starbucks drinks you can whip up in your own kitchen. You’ll learn the secret ingredient ratios that baristas use, the best substitutions when you can’t find specialty syrups, and how to nail that perfect foam every single time.
Ready to become your own barista? Let’s make it!
Why You’ll Love This Recipe
These homemade Starbucks recipes have completely changed my morning routine. I used to spend over $150 a month on coffee runs, and now I make better versions at home for a fraction of the cost.
- ✓ Save serious money: Each drink costs $1.50-$3.00 to make versus $5-$8 at the store. That’s over $100 saved monthly if you’re a daily coffee drinker.
- ✓ Total customization control: Want extra espresso shots? Less sugar? Oat milk instead of dairy? You’re the boss of your own coffee bar.
- ✓ No waiting in line: Make your favorite Starbucks dupes in under 5 minutes, right in your pajamas.
- ✓ Healthier options: Control the sugar content, use quality ingredients, and skip the artificial additives.
- ✓ Impress everyone: Your friends will think you’ve unlocked secret barista recipes when you serve these at brunch.
- ✓ Learn actual barista skills: Once you master these techniques, you can create endless coffee shop recipes on your own.
💡 Cost Breakdown: A Venti Iced Caramel Macchiato at Starbucks costs about $6.45. Making it at home? Around $1.80. That’s a 72% savings every single time.
What You’ll Need
The beauty of these DIY Starbucks drinks is that you probably already have most ingredients in your kitchen. I’ve organized everything by category so you can stock up once and make dozens of different drinks.
The Coffee Base
You’ll need quality espresso or strong coffee as your foundation. I use a Moka pot or Aeropress for espresso-style coffee, but instant espresso powder works in a pinch. For cold brew lovers, check out my guide on making perfect cold brew at home that tastes exactly like the Starbucks version.
Regular drip coffee works for Frappuccinos and blended drinks. Just brew it double-strength and let it cool completely before using.
Milk & Cream Options
Whole milk creates the creamiest foam, but I always keep oat milk and almond milk on hand too. Heavy cream is essential for those ultra-indulgent drinks, while half-and-half gives you the perfect middle ground.
For the best results with plant-based milks, look for barista blends that are specifically formulated to foam and steam properly.
Sweeteners & Syrups
This is where the magic happens. Vanilla syrup is your most versatile player—I use this brand from Amazon and it makes a huge difference compared to generic versions.
Stock up on caramel sauce, white chocolate sauce, pumpkin spice syrup (seasonal), and simple syrup. You can make simple syrup at home by dissolving equal parts sugar and hot water, but the flavored syrups are worth buying.
Special Ingredients
Matcha powder, chai concentrate, and freeze-dried strawberries are absolute game-changers for the non-coffee drinks. For authentic-tasting matcha lattes, I use culinary-grade matcha from Amazon that whisks smoothly without clumps.
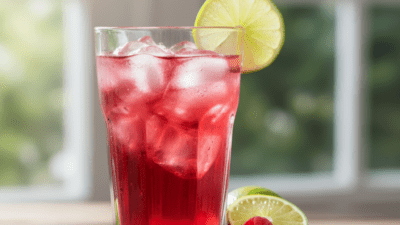
Dragon fruit powder and açai puree are harder to find locally, but they’re essential if you want to recreate the famous Pink Drink. Speaking of which, I have a detailed recipe for the perfect Pink Drink that uses easy-to-find substitutes.
Equipment Essentials
You don’t need fancy equipment, but a few tools make life easier. A milk frother (even a $15 handheld one), a good blender for Frappuccinos, and a cocktail shaker for iced drinks are my holy trinity.
Measuring spoons, a kitchen scale, and clear glass cups for that Instagram-worthy presentation complete the setup.
✅ Shopping Tip: Buy syrups in bulk online—they’re 40-50% cheaper than grocery stores and last for months in your pantry. I order mine every 3 months and save over $30 each time.
Pro Tips Before You Start
I’ve made every mistake possible while perfecting these homemade Starbucks recipes, so learn from my trial and error:
- Chill your glasses first: For iced drinks, pop your glasses in the freezer for 10 minutes. This keeps your drink cold longer and prevents immediate dilution from ice melt.
- Layer in the right order: For those gorgeous Instagram layers, always pour the heaviest liquid first (milk), then ice, then lighter ingredients (coffee). Pour slowly over the back of a spoon for clean separation.
- Use quality ice: This sounds bougie, but large ice cubes or coffee ice cubes (frozen coffee in ice cube trays) prevent watery drinks. It’s the difference between good and great.
- Measure your syrups: Starbucks uses specific pumps—each pump equals about 1 tablespoon. Too much syrup makes drinks sickeningly sweet, too little and they taste flat.
- Bloom your espresso: Let hot espresso sit for 30 seconds before adding milk or ice. This allows the flavors to fully develop and creates a smoother taste.
- Steam milk to 150°F: Any hotter and you’ll scorch the milk, creating a burnt taste. Use a thermometer until you can judge by touch (it should feel hot but not painful).
- Prep ingredients the night before: Brew and chill your coffee, portion out syrups, and prep any special ingredients. Morning you will be grateful.
- Taste as you go: Everyone’s sweetness preference is different. Start with less syrup than the recipe calls for—you can always add more, but you can’t take it out.
💡 Pro Tip: The secret to perfect foam is cold milk and a clean frother. Rinse your frother immediately after each use, and always start with milk straight from the fridge. Room temperature milk doesn’t foam well.
How To Make 15 Best Copycat Starbucks Drinks to Make at Home
I’m breaking down all 15 drinks with exact measurements, step-by-step instructions, and my personal tweaks that make each one taste better than the original. These Starbucks copycat recipes range from the classics everyone loves to seasonal favorites and trendy TikTok-famous drinks.
Each recipe is designed to make one serving, but they’re easily doubled or tripled for a crowd. I’ve tested every single ratio multiple times to nail that authentic Starbucks taste, and I’ve included shortcuts for busy mornings plus elevated techniques for when you want to show off your barista recipes.
The recipe card below covers all 15 drinks with detailed instructions, but keep scrolling for customization ideas and storage tips that’ll make you a true home barista pro.
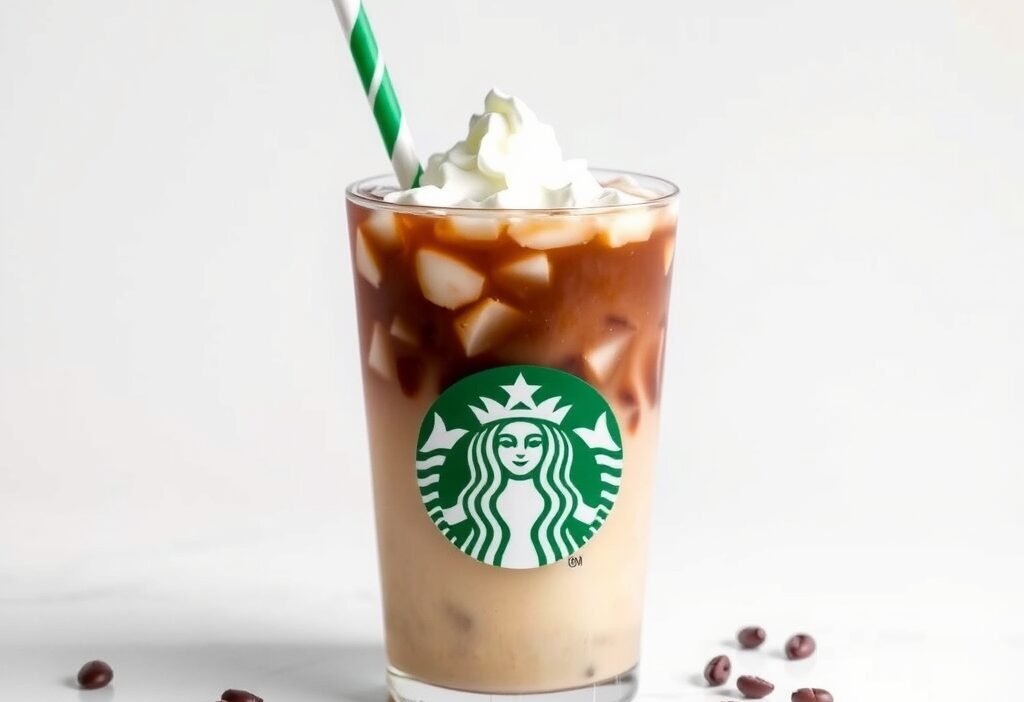
15 Best Copycat Starbucks Drinks to Make at Home
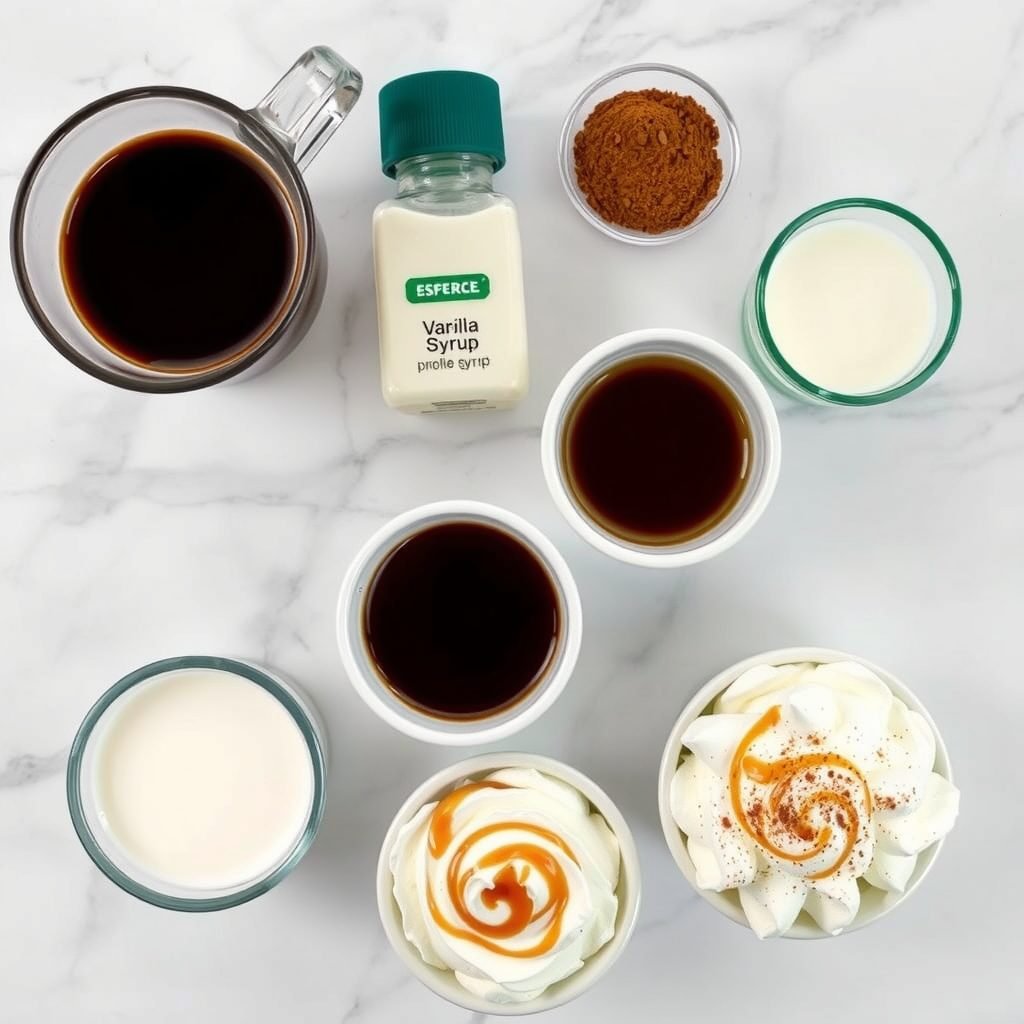
Ingredients
Equipment
Method
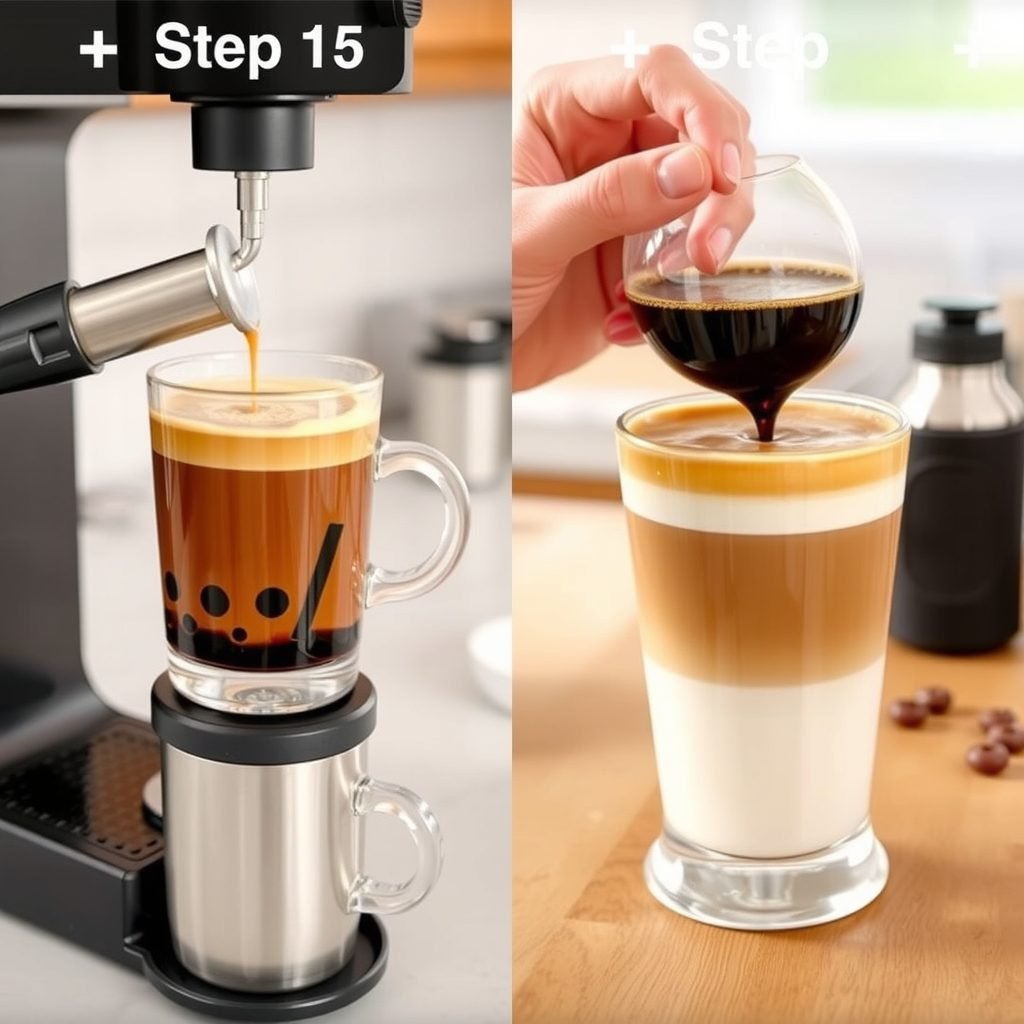
- Begin by brewing your espresso shots or preparing strong coffee using your preferred method. The coffee should be rich and aromatic, with a deep brown crema on top if using espresso. Allow it to brew for about 25-30 seconds per shot for optimal extraction and flavor.
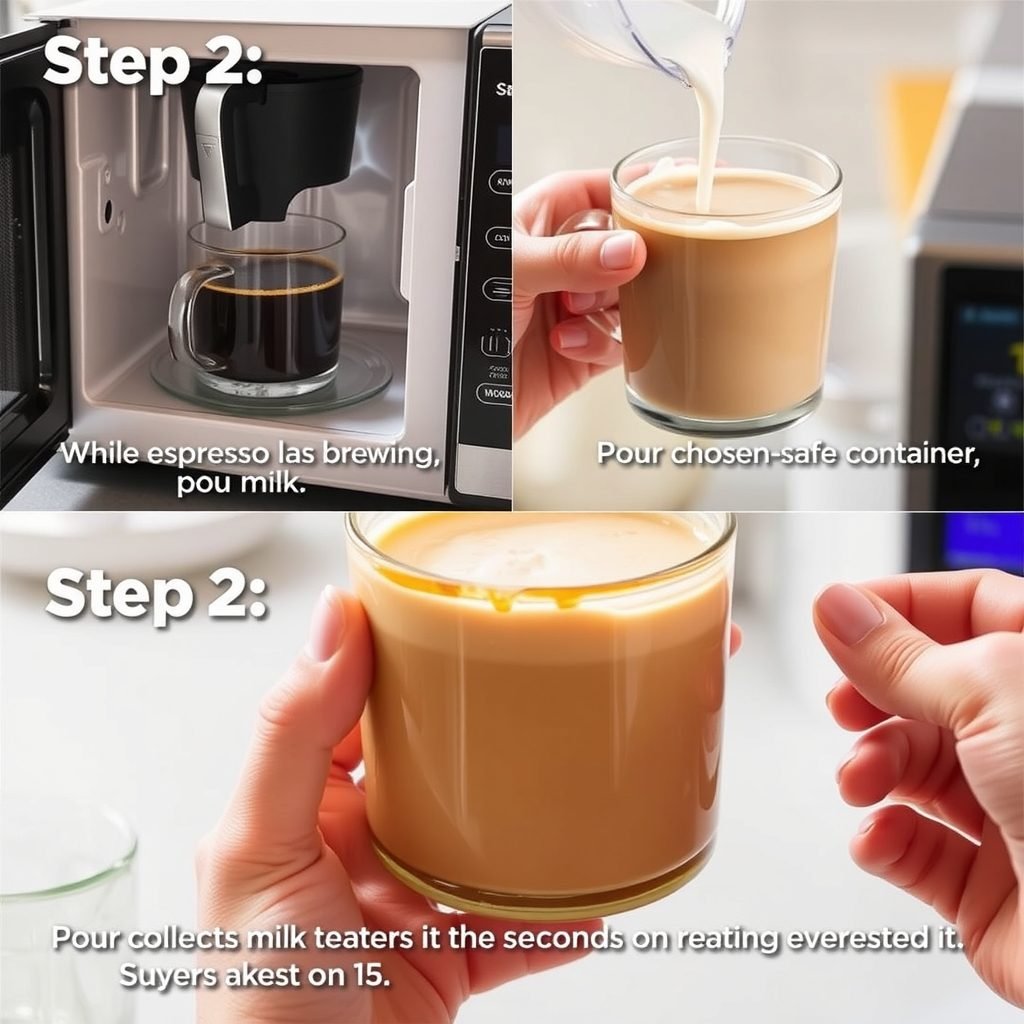
- While the espresso is brewing, pour your chosen milk into a microwave-safe container and heat it for 45-60 seconds until it reaches about 150°F. The milk should be hot but not boiling, with small bubbles forming around the edges. If you prefer iced drinks, skip this step and use cold milk instead.
- Using a milk frother, handheld whisk, or French press, froth the heated milk vigorously for 30-45 seconds until it becomes creamy and develops a thick foam layer on top. The texture should be velvety and smooth, with microfoam that resembles wet paint when poured.
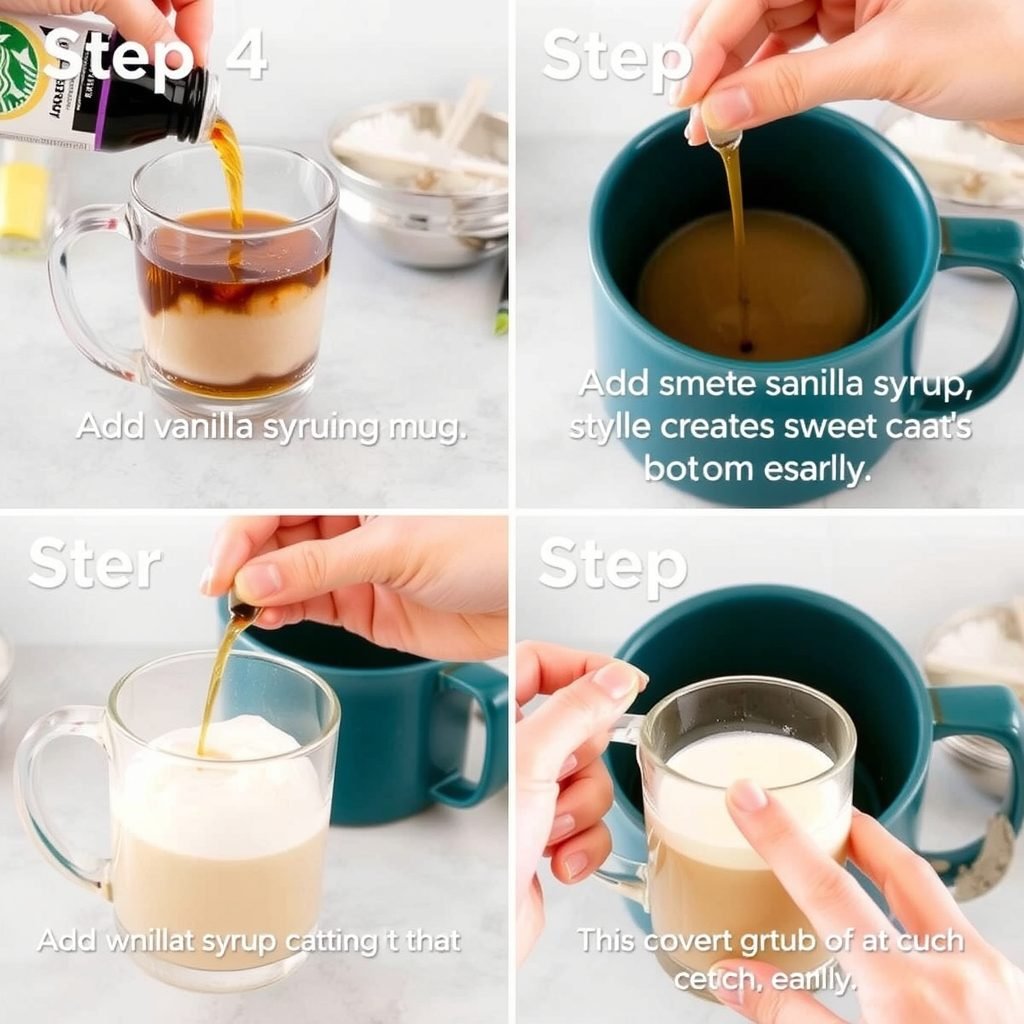
- Add the vanilla syrup to your serving glass or mug, swirling it around to coat the bottom evenly. This creates a sweet foundation that will blend seamlessly with the coffee and milk. You should see the syrup clinging to the sides of the glass slightly.
- Pour the freshly brewed espresso over the vanilla syrup, watching as the dark coffee mingles with the sweet syrup below. Stir gently for 5-10 seconds to combine the flavors, creating a uniform coffee base that smells rich and slightly sweet.
- Slowly pour the frothed milk over the espresso mixture, holding back the foam with a spoon initially to let the liquid milk flow first. Then spoon the remaining foam on top to create a thick, creamy layer that sits about half an inch above the rim of your glass.
- If desired, add a generous dollop of whipped cream on top of the foam, creating a cloud-like topping. The whipped cream should be fluffy and hold its shape, adding an extra layer of indulgence to your drink.
- Finish by drizzling caramel sauce in a crosshatch pattern over the whipped cream, and dust lightly with cinnamon or cocoa powder for visual appeal. The caramel should create distinct lines that slowly begin to melt into the cream. Serve immediately while hot and enjoy your homemade Starbucks-style beverage.
Step-by-Step Photos

Customizations & Variations
The best part about making your own coffee shop recipes? You can tweak them endlessly to match your exact preferences.
Dairy-Free Versions
Swap regular milk for oat, almond, or coconut milk in any recipe without changing other measurements. Oat milk is my top choice because it foams beautifully and has a naturally sweet, creamy taste that doesn’t compete with coffee flavors.
For white chocolate-based drinks, use dairy-free white chocolate sauce or make your own with cocoa butter and powdered sugar. The texture is slightly different but still delicious.
Sugar-Free Options
Replace regular syrups with sugar-free versions using the same measurements. Torani and Jordan’s Skinny Syrups both make excellent sugar-free options that don’t have that weird artificial aftertaste.
You can also use monk fruit sweetener or stevia, but start with half the amount since they’re much sweeter than sugar. For caramel sauce, sugar-free versions exist but they’re pricey—I just use less of the regular stuff.
Iced to Hot Conversions
Any iced drink can become hot by skipping the ice and using hot espresso plus steamed milk instead of cold. Reduce the total liquid by about 1/4 cup since you’re not accounting for ice melt.
Hot drinks need slightly less syrup because heat amplifies sweetness. Cut back by 1 teaspoon and taste before adding more.
Size Adjustments
These recipes make a 16oz (Grande) serving by default. For a Tall (12oz), reduce all ingredients by 25%. For a Venti (20oz), increase everything by 25%. The espresso shots stay the same unless you want extra caffeine.
My personal preference? Make the Grande size but use a Venti cup—more room for extra ice or foam, and it just feels more luxurious.
Seasonal Twists
Add pumpkin spice syrup and cinnamon in fall, peppermint extract and crushed candy canes in winter, or lavender syrup and honey in spring. I love doing a peach-infused version in summer that tastes like vacation in a cup.
Swap regular vanilla for brown sugar vanilla, add a pinch of cardamom to chai drinks, or top with seasonal cold foam flavors like pumpkin cream or Irish cream.
Extra Indulgent Versions
Replace half the milk with heavy cream for an ultra-rich, dessert-like drink. Top with real whipped cream, extra drizzles of sauce, and a sprinkle of sea salt or espresso powder.
Add a shot of white chocolate or dark chocolate sauce to any coffee drink for a mocha twist. Or go full dessert mode and blend in a scoop of vanilla ice cream.
Boozy Upgrades
Add 1-2 shots of liqueur to transform these into after-dinner drinks. Baileys or Kahlúa work in almost anything, amaretto is gorgeous in iced lattes, and Frangelico elevates hazelnut drinks to another level.
For a fun twist, try rum in the Pumpkin Spice Latte, vodka in the Pink Drink, or bourbon in the Iced Brown Sugar Oat Milk Shaken Espresso. Just like the Golden Eagle from Dutch Bros, these drinks are perfect for weekend brunches.
Caffeine-Free Alternatives
Use decaf espresso or herbal tea bases instead of regular coffee. The Strawberry Açai Refresher and Pink Drink are naturally caffeine-free if you skip the green tea.
For chocolate-based drinks, use a chocolate milk base with no coffee. Matcha can be swapped for blue butterfly pea powder for a similar color without caffeine.
Protein-Packed Versions
Blend in a scoop of vanilla protein powder to turn any Frappuccino into a post-workout treat. Use cold brew as your liquid base and add a banana for natural sweetness and thickness.
Collagen powder dissolves easily in hot drinks without changing the flavor. I add it to my morning lattes for an extra wellness boost.
Lower Calorie Swaps
Use almond milk, sugar-free syrups, and skip the whipped cream to cut calories by 50-70%. For even lighter versions, use half the syrup and add vanilla extract or cinnamon for flavor without sweetness.
Check out nutritional information for your specific ingredients to calculate exact calorie counts. Most of my lighter versions clock in under 150 calories versus 300-500 for the Starbucks originals.
Storing & Make-Ahead Tips
These drinks are best enjoyed fresh, but I’m all about efficiency. Here’s how to prep ahead and store components so you can assemble drinks in under 2 minutes on busy mornings.
Refrigerator Storage
- Brewed coffee or espresso: 3-4 days in an airtight container. I brew a big batch on Sunday and portion it into mason jars for the week.
- Cold brew concentrate: Up to 2 weeks when stored properly. This is your best make-ahead option.
- Flavored syrups (opened): 1-2 months at room temperature, longer if refrigerated after opening.
- Milk-based drinks (assembled): Not recommended. They separate and get watery. Always store components separately.
- Cold foam: Use immediately. It deflates within 10-15 minutes and doesn’t store well.
Freezer Storage
- Coffee ice cubes: Freeze leftover coffee in ice cube trays for up to 3 months. Perfect for iced drinks without dilution.
- Frappuccino base: Blend coffee with milk and sweetener, freeze in portions. Add to blender with ice when ready to drink.
- Fruit purees: Freeze strawberry or açai puree in ice cube trays for 3-4 months. Pop out as needed for refreshers.
- Whipped cream: Freeze dollops on parchment paper, then transfer to a container. Thaw for 5 minutes before using.
Batch Prep Strategy
My Sunday routine saves me 15 minutes every morning: I brew a week’s worth of cold brew, portion syrups into small containers with pump lids, and make coffee ice cubes. I also pre-measure dry ingredients like matcha powder or chai spice mix into small jars.
For the Pink Drink and other refreshers, I freeze the fruit base in ice cube trays. In the morning, I just add coconut milk and shake—done in 90 seconds.
What to Keep Separate
Never pre-mix coffee and milk if you’re storing for later. The milk proteins break down and create an unpleasant texture. Always store your coffee base and milk separately, then combine when ready to drink.
Keep ice separate until serving time. Pre-made iced drinks turn into sad, watery messes. The only exception is cold brew concentrate, which should be diluted with water or milk right before drinking.
✅ Make-Ahead Hack: Prep “drink kits” in small containers—one has your syrup and any powders, another has your coffee base. In the morning, just add milk and ice. Takes 60 seconds and tastes freshly made.
Frequently Asked Questions
How many calories are in these copycat Starbucks drinks?
It varies by drink, but most range from 150-400 calories depending on milk choice and syrup amounts. The iced lattes with whole milk and regular syrup are around 250 calories, while Frappuccinos can hit 400+. Using almond milk and sugar-free syrups cuts calories by 40-60%.
The beauty of making drinks at home is you control every ingredient. I typically make mine with about 30% fewer calories than Starbucks by using less syrup and lighter milk options.
Can I use regular coffee instead of espresso?
Yes, but brew it double-strength to mimic espresso’s intensity. Use twice the amount of coffee grounds you normally would, or let it steep longer if using a French press. For drinks that call for 2 shots of espresso, use 1/2 cup of strong coffee.
Cold brew works especially well as an espresso substitute since it’s naturally more concentrated. It won’t have that exact espresso punch, but the flavor is still delicious.
How long do homemade coffee drinks last?
Drink them immediately for best quality, but unmixed components last much longer. Coffee stays fresh for 3-4 days refrigerated, syrups last months, and milk lasts until its expiration date. Once mixed with milk and ice, consume within 1-2 hours.
The exception is cold brew concentrate, which lasts up to 2 weeks. Store it undiluted and mix with milk or water when you’re ready to drink.
Can I make these drinks without special equipment?
Absolutely—you don’t need anything fancy. A mason jar with a tight lid works for shaking and frothing milk (shake vigorously for 30 seconds). A regular blender handles Frappuccinos. Even espresso can be faked with very strong regular coffee or instant espresso powder.
I started with just a French press and a $10 milk frother from Target. You can always upgrade equipment later once you know which drinks you make most often.
How can I make these drinks healthier?
Use unsweetened almond or oat milk, sugar-free syrups, and cut the syrup amount in half. Skip whipped cream or use a light version. Add cinnamon, vanilla extract, or cocoa powder for flavor without calories.
I also recommend using organic coffee and grass-fed dairy when possible. The quality difference is noticeable, and you’re avoiding pesticides and hormones. For an even healthier boost, add collagen powder or MCT oil to your morning latte.
Do these actually taste like the real Starbucks drinks?
Honestly? Most of mine taste better because I use fresh ingredients and quality syrups. The flavor profiles are nearly identical—I’ve done blind taste tests with friends and they couldn’t tell the difference. Some drinks, like the Pink Drink, are actually easier to customize at home.
The texture might be slightly different if you don’t have professional steaming equipment, but the taste is spot-on. After making these for a year, I rarely buy from Starbucks anymore except when I’m traveling.
Can I freeze these drinks for later?
Frappuccinos and blended drinks freeze well for up to 1 month. Let them thaw slightly and re-blend before drinking. Regular iced drinks don’t freeze well because the milk separates and gets grainy when thawed.
Your best bet is freezing components separately—coffee ice cubes, fruit purees, and cold brew concentrate all freeze beautifully. Then assemble fresh drinks whenever you want them.