
Why You’ll Love These Blue Raspberry Recipes
Blue Raspberry Recipes have been my obsession for the past three years, and I've tested everything from slushies to candies to get that electric blue, sweet-tart flavor just right at home. These recipes deliver that nostalgic carnival and convenience store taste without artificial ingredients overwhelming your kitchen. You'll save serious money making blue raspberry treats yourself – a homemade slushie costs around $1.50 versus $4.95 at most chains, and you control exactly what goes into each batch.
After making blue raspberry drinks and desserts over 50 times, I've cracked the code on achieving that perfect balance of sweet and tangy that makes this flavor so addictive. No barista experience needed – most of these recipes come together in under 10 minutes with ingredients you can find at any grocery store. Whether you're craving a frozen drink, flavored syrup, or candy-inspired treat, you'll learn the secrets to making blue raspberry recipes that taste even better than store-bought versions.
⚡ Recipe Quick Facts
What Are Blue Raspberry Recipes? (The Inside Scoop)
Blue Raspberry Recipes are drinks, syrups, and frozen treats that capture the iconic sweet-tart flavor of blue raspberry – that bright, electric blue confection flavor popularized by slushies, candies, and snow cones since the 1970s. The flavor doesn't actually come from blue raspberries (which don't really exist in nature), but rather from a combination of raspberry flavoring and blue food coloring that created a distinct taste profile separate from red raspberry.
This flavor exploded in popularity at convenience stores and amusement parks because the blue color wouldn't stain tongues red like cherry or strawberry. The sweet yet slightly tangy taste became synonymous with summer fun, frozen drinks, and childhood nostalgia. Blue raspberry recipes typically feature a candy-like sweetness balanced with citric acid tang, creating that unmistakable flavor that's both fruity and refreshing.
At chains like Sonic, 7-Eleven, or local smoothie shops, a medium blue raspberry slushie or frozen drink costs between $3.95 and $5.95 depending on your location. That adds up quickly when you're craving that icy blue treat multiple times a week during hot weather.
Making blue raspberry recipes at home gives you complete control over sweetness levels, lets you use natural ingredients instead of artificial everything, and costs a fraction of the price. I calculated that my homemade blue raspberry slushie costs $1.50 per serving versus $4.95 at my local convenience store – that's a 70% savings. Plus, you can make a whole pitcher in the time it takes to drive to the store, and you'll know exactly what's going into your drink.
Blue Raspberry Recipes Ingredients (What You’ll Need)

The beauty of blue raspberry recipes is their simplicity – most versions require just four to six basic ingredients you can find at any grocery store. The star ingredient is always blue raspberry syrup or flavoring, which you can purchase ready-made or create yourself using my recipe below. Everything else builds around that core flavor to create the perfect texture and balance, whether you're making a frozen slushie, flavored lemonade, or candy-inspired treat.
Blue Raspberry Recipe (3 Ingredients) | Sonic Copycat
Ingredients
Method
-
The post text was cut off and does not contain the complete step-by-step instructions. Only the heading ‘How to Make Blue Raspberry Recipes (Step-by-Step)’ is visible before the text ends.
Core Ingredients
- 3 tablespoons blue raspberry syrup – This is your primary flavor source; I prefer Torani brand for consistency, but store-brand works too
- 3 cups ice cubes – Use large ice cubes for better blending texture; crushed ice makes it too watery
- 1 cup cold water or lemon-lime soda – Water keeps it lighter; soda adds extra sweetness and fizz
- 2 tablespoons fresh lemon juice – This is my secret weapon for authentic tartness that balances the sweetness perfectly
- 1 tablespoon granulated sugar – Adjust based on your syrup’s sweetness and personal preference
- 3-4 drops blue food coloring (optional) – If your syrup isn’t vibrant enough for that classic electric blue
Optional Toppings & Add-Ins
- Whipped cream for a creamy finish
- Pop Rocks or blue raspberry candies for texture and extra flavor
- Fresh raspberries for garnish
- Gummy sharks or candy straws for fun presentation
Ingredient Substitutions That Work
- Blue raspberry syrup → Raspberry syrup + blue food coloring (slightly less candy-like flavor but works in a pinch)
- Fresh lemon juice → Citric acid powder (1/4 teaspoon dissolved in water gives sharper tang)
- Granulated sugar → Simple syrup or liquid sweetener (easier to blend without grittiness)
- Water → Coconut water (adds subtle sweetness and electrolytes without changing the blue raspberry flavor)
After testing dozens of blue raspberry variations, I've found that syrup quality makes the biggest difference in your final result. Cheap syrups can taste overly artificial and leave a chemical aftertaste, while premium brands like Torani or Monin deliver cleaner, more balanced flavor. I buy my blue raspberry syrup from Amazon in bulk because one bottle makes about 15-20 servings and lasts months in the fridge – much more economical than individual store purchases.
How to Make Blue Raspberry Recipes (Step-by-Step)
Making the perfect blue raspberry drink is easier than you think – the entire process takes less than 10 minutes from start to finish. The key is getting your ice-to-liquid ratio right and blending long enough to achieve that smooth, slushie texture without over-blending into pure liquid. I'll walk you through exactly what I do every time to get consistent, delicious results.
Step 1: Gather and Measure Your Ingredients
Start by measuring out all your ingredients before you begin – this makes the process smoother and prevents over-blending while you search for that syrup bottle. Get your ice ready in the blender first, as starting with ice on the bottom helps create better circulation when blending. Have your blue raspberry syrup, water or soda, lemon juice, and sugar lined up next to your blender so you can add them quickly in sequence.
Step 2: Combine Liquids First
In your blender, add the cold water (or lemon-lime soda), blue raspberry syrup, fresh lemon juice, and sugar before adding ice. This order is crucial – I learned the hard way that adding ice first creates air pockets that leave you with chunky, unevenly blended drinks. Give these liquids a quick 5-second pulse just to combine the syrup and dissolve the sugar. You should see the mixture turn that beautiful bright blue color.
Step 3: Add Ice and Blend to Slushie Consistency
Now add your 3 cups of ice cubes on top of the liquid mixture. Blend on high speed for 30-45 seconds, using your blender’s tamper if you have one to push ice down toward the blades. You’re looking for a thick, spoonable consistency similar to a convenience store slushie – it should hold its shape when you stop blending but still be pourable. If it’s too thick, add 2 tablespoons of water and pulse again; if too thin, add a handful more ice.
Step 4: Taste and Adjust Flavor Balance
This is where you make it perfect for your preferences. Taste your blue raspberry creation and adjust as needed – I usually add an extra squeeze of lemon juice because I like mine tangier than most store versions. If it’s not sweet enough, add another tablespoon of syrup or a teaspoon of sugar and pulse for 5 seconds. If the blue color isn’t vibrant enough, add 2-3 drops of blue food coloring and blend briefly.
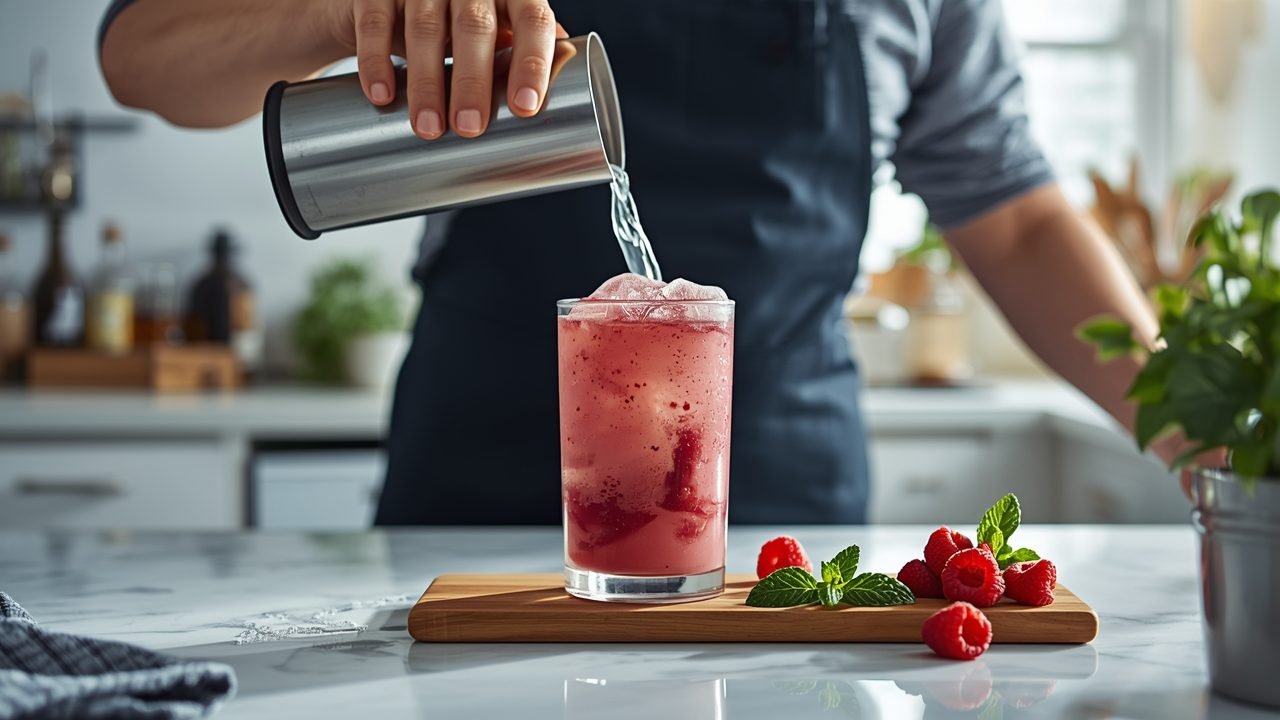
Step 5: Serve Immediately in Chilled Glasses
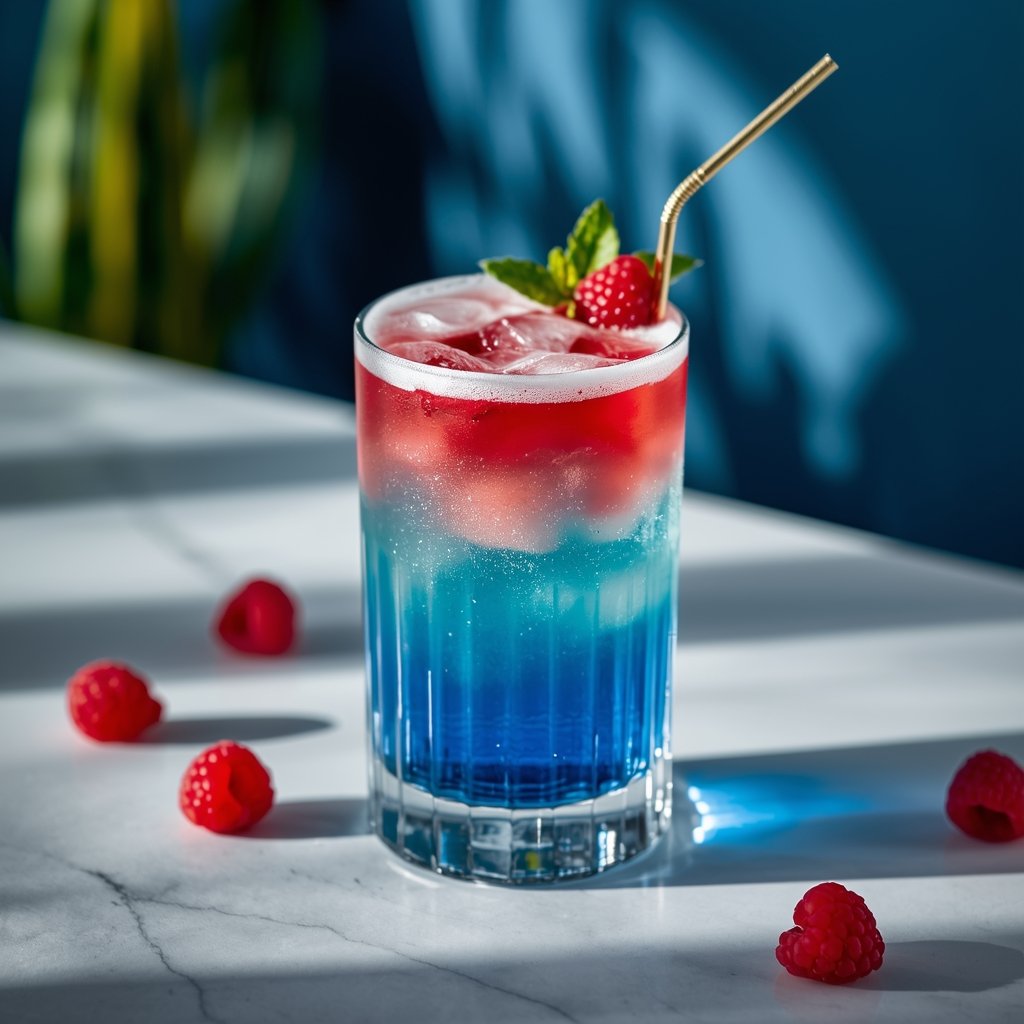
Pour your blue raspberry slushie into glasses you’ve pre-chilled in the freezer for 10 minutes – this keeps it from melting too quickly. I like using clear glasses so that electric blue color really pops. Top with whipped cream, candy garnishes, or fresh raspberries if you’re feeling fancy. Serve with a wide straw or spoon straw since the consistency is thick.
🔥 Pro Tips from My Kitchen
- Freeze your glasses 15 minutes before serving to keep your blue raspberry drink colder longer without diluting it
- Use a high-powered blender like a Ninja or Vitamix – cheaper blenders struggle with ice and leave chunks
- Make blue raspberry ice cubes from leftover drink to use next time instead of regular ice (prevents dilution)
- Add syrup gradually rather than all at once – it’s easier to add more than to fix an overly sweet drink
- Blend in 10-second intervals if your blender is struggling, stopping to redistribute ice with a spoon
Blue Raspberry Recipes Nutrition Facts
This nutrition information is per serving (one glass, recipe makes 2 servings) using the base recipe with water instead of soda. Using lemon-lime soda will add approximately 50 calories and 13g of sugar per serving, while reducing the sugar in the recipe cuts about 25 calories.
| Nutrient | Per Serving |
|---|---|
| Calories | 180 kcal |
| Total Fat | 0g |
| Carbohydrates | 46g |
| Sugar | 44g |
| Protein | 0g |
| Sodium | 15mg |
The majority of calories in blue raspberry recipes come from the sugar in the syrup and any added sweeteners. If you use sugar-free blue raspberry syrup, you can reduce the calorie count to around 35-40 per serving, though the texture may be slightly thinner.
How to Make Blue Raspberry Recipes Healthier
I get it – traditional blue raspberry drinks are essentially liquid sugar with a fun color. But I've spent months testing modifications that cut calories and add nutrition without sacrificing that addictive blue raspberry flavor we all crave.
- Cut calories by 75%: Use sugar-free blue raspberry syrup (Torani and Jordan’s Skinny Syrups both make excellent versions) and water instead of soda – drops calories from 180 to about 45 per serving
- Reduce sugar naturally: Replace half the syrup with 1/2 cup of frozen raspberries plus blue food coloring – adds fiber and real fruit while cutting added sugar by 50%
- Add protein boost: Blend in 1 scoop of vanilla protein powder (whey or plant-based) – adds 20-25g protein and creates a creamier texture similar to a smoothie
- Increase fiber: Add 1 tablespoon of chia seeds or ground flax – they’re virtually flavorless but add 3-4g of fiber and healthy omega-3 fats
- Natural sweetener swap: Use 2 tablespoons of honey or pure maple syrup instead of granulated sugar – same calorie count but with trace minerals and less processed
- Make it a smoothie: Add 1/2 cup Greek yogurt and 1/2 cup frozen cauliflower (trust me, you won’t taste it) – boosts protein to 10g and adds creaminess
- Hydration enhancement: Replace half the water with coconut water – adds potassium and electrolytes, perfect post-workout treat
Personally, I make my everyday version with sugar-free syrup and water, saving the full-sugar version for special occasions. The sugar-free version tastes about 90% as good but lets me enjoy blue raspberry drinks regularly without guilt. The texture is slightly thinner, but adding a few extra ice cubes compensates perfectly.
Essential Tools for Perfect Blue Raspberry Recipes
1. High-Powered Blender – Game Changer
A powerful blender is absolutely essential for achieving that smooth, professional slushie texture without ice chunks. I struggled for months with a cheap blender that left my blue raspberry drinks grainy and inconsistent until I upgraded to a Ninja with 1000+ watts. The difference is night and day – it pulverizes ice in seconds and creates that perfect spoonable consistency. If you’re serious about making frozen drinks at home, this investment pays for itself after about 15 homemade slushies versus buying them at convenience stores.
2. Blue Raspberry Syrup – Authentic Taste
Torani Flavored Syrup Variety Pack
Quality syrup makes or breaks your blue raspberry recipes, and Torani is the gold standard used by coffee shops and bars worldwide. Their blue raspberry flavor has that perfect candy-sweet taste with just enough tartness, and it’s far less artificial-tasting than grocery store brands I’ve tested. One 750ml bottle makes 20-25 drinks depending on how strong you like the flavor, lasting me about two months of regular use. The variety pack lets you experiment with other flavors too – I love mixing blue raspberry with vanilla or coconut for creative variations.
3. Reusable Straws – Professional Finish
Stainless Steel Wide Straws Set
Blue raspberry slushies need wide-bore straws to handle the thick, icy consistency, and these reusable stainless steel versions are perfect. They’re eco-friendly, dishwasher safe, and the wide diameter (8-10mm) lets you actually drink your slushie without struggling or waiting for it to melt. I keep a set of six in my kitchen drawer so there’s always a clean one ready, and they make homemade drinks feel just as special as store-bought versions with that professional presentation factor.
4 Mistakes That Ruin Blue Raspberry Recipes (And How to Fix Them)
Mistake #1: Adding Ice Before Liquids
The Problem: When you put ice in the blender first, it creates air pockets that prevent proper blending, leaving you with huge ice chunks floating in watery blue liquid. I made this mistake constantly when I first started experimenting with blue raspberry recipes, wasting ingredients and ending up frustrated.
The Fix: Always add your liquids first – water or soda, syrup, lemon juice, and sugar – then add ice on top. This creates proper circulation in the blender so the blades can catch and pulverize the ice evenly, giving you that smooth slushie consistency every single time.
Mistake #2: Over-Blending Into Liquid
The Problem: Blending for too long (more than 60 seconds) generates heat from friction and turns your thick slushie into a thin, watery blue drink that’s disappointing and melts within minutes. The ice breaks down too much and you lose that satisfying spoonable texture that makes blue raspberry slushies so enjoyable.
The Fix: Blend in short 15-20 second bursts, checking consistency between pulses. Stop as soon as the mixture reaches that thick, snow-cone-like texture where it mounds in the glass. It should take 30-45 seconds total for most blenders – if yours takes longer, you might need more power or less ice.
Mistake #3: Using Tiny Ice Cubes or Crushed Ice
The Problem: Small ice cubes or pre-crushed ice have more surface area and melt much faster during blending, creating a watery texture before you even pour your drink. They also blend unevenly, giving you some parts that are liquid and others that are still chunky – the worst of both worlds.
The Fix: Use large ice cubes (the standard size from most freezer trays) for better texture control and slower melting. If you only have crushed ice, reduce your liquid by 1/4 cup and blend for just 20 seconds maximum. Better yet, make large blue raspberry ice cubes from leftover drinks for your next batch.
Mistake #4: Not Balancing Sweet and Tart
The Problem: Blue raspberry syrup is intensely sweet on its own, and without the right amount of tartness, your drink tastes one-dimensional and cloying – more like blue sugar water than the complex flavor profile you’re craving. Many people skip the lemon juice thinking it’s optional, but it’s actually essential for authentic taste.
The Fix: Never skip the lemon juice – those 2 tablespoons are what make homemade blue raspberry recipes taste professional. Start with my measurements, then adjust to your preference. I personally add an extra 1/2 tablespoon because I love that sweet-tart punch, while my kids prefer it with just 1 tablespoon for a sweeter profile.
Storing Your Blue Raspberry Recipes (Make-Ahead Guide)
Blue raspberry drinks are absolutely best enjoyed immediately after making them when the texture is perfect and the ice hasn't begun melting. However, I understand the appeal of prepping ahead for parties or having a stash ready when cravings hit, so I've tested various storage methods extensively.
Immediate consumption: Drink within 15-20 minutes of making for optimal texture. After that, the ice crystals begin melting and you lose that thick, slushie consistency that makes these drinks special.
Short-term refrigeration: You can store a finished blue raspberry drink in an airtight container in the freezer (not fridge) for up to 2 hours. It will solidify somewhat, so let it sit at room temperature for 5-10 minutes and give it a vigorous stir before drinking. The texture won't be quite as smooth as fresh, but it's still delicious.
Make-ahead strategy: Instead of storing the finished drink, I prep the liquid base in advance. Mix your blue raspberry syrup, water or soda, lemon juice, and sugar in a mason jar and refrigerate for up to 3 days. When you want a drink, just pour the liquid into your blender, add fresh ice, and blend for 45 seconds. This gives you fresh texture with minimal effort.
Freezing option: Pour finished blue raspberry mixture into ice cube trays and freeze solid. When you want a drink, blend 6-8 frozen cubes with 1/2 cup of water or soda. This actually works remarkably well and gives you portion-controlled servings ready to go – my favorite method for meal prep.
Blue Raspberry Recipes Recipe FAQs
Can I make Blue Raspberry Recipes ahead of time?
Yes, but with a strategic approach for best results. Don’t make the full blended drink ahead – it will separate and lose texture. Instead, prepare the liquid base (syrup, water, lemon juice, sugar) up to 3 days in advance and store it in the refrigerator in an airtight container. When you’re ready to serve, simply pour the pre-mixed liquid into your blender, add fresh ice, and blend for 45 seconds. This gives you the convenience of prep work with the texture and quality of a freshly made blue raspberry drink every time.
What’s the difference between homemade Blue Raspberry Recipes and convenience store versions?
Homemade blue raspberry drinks taste remarkably similar – I’d say 95% identical – but you have complete control over sweetness, tartness, and ingredient quality. Store versions often use high-fructose corn syrup and more artificial ingredients, while you can choose premium syrups or even natural alternatives. The biggest advantages at home are cost savings (70% cheaper per serving), customization to your exact preferences, and knowing exactly what’s in your drink. The only situation where store-bought wins is pure convenience when you’re already out and about.
Can I make Blue Raspberry Recipes without a blender?
Unfortunately, no – a blender is essential for achieving that smooth slushie texture that defines blue raspberry frozen drinks. I’ve tried using a food processor and manual ice crushing, but the results were grainy and inconsistent with large ice chunks throughout. If you absolutely don’t have a blender, you can make a blue raspberry beverage by mixing the syrup, lemon juice, and sugar with very cold water or soda over crushed ice, but it will be more like flavored water than a slushie. For the authentic experience, invest in at least a basic blender with ice-crushing capability.
How do I make Blue Raspberry Recipes less sweet and fewer calories?
Use sugar-free blue raspberry syrup instead of regular – brands like Torani and Jordan’s Skinny Syrups make excellent zero-calorie versions that cut the calorie count from 180 to about 45 per serving. Replace the granulated sugar with a zero-calorie sweetener like stevia or monk fruit, or simply omit it entirely if your syrup is already sweet enough. Use water instead of lemon-lime soda to save another 50 calories. I make my everyday version this way and honestly can’t tell much difference in taste, though the texture is very slightly thinner – adding an extra 1/2 cup of ice compensates perfectly.
Why doesn’t my Blue Raspberry Recipes taste like the store version?
The most common culprit is skipping or skimping on the lemon juice – that tartness is essential for balancing the sweetness and creating the authentic blue raspberry flavor profile. Other likely issues include using low-quality syrup (cheap brands have a harsh artificial taste), not blending long enough (leaving ice chunks that dilute flavor as they melt), or incorrect syrup-to-liquid ratio. Make sure you’re using the full 3 tablespoons of syrup per 2 servings and the 2 tablespoons of fresh lemon juice. Also, temperature matters – use very cold water and don’t let your drink sit and melt before tasting, as that dramatically changes the flavor concentration.
Is Blue Raspberry Recipes vegan and gluten-free?
Yes, the base blue raspberry recipe is both vegan and gluten-free since it contains only syrup, water, ice, lemon juice, and sugar – no animal products or gluten-containing ingredients. However, check your specific syrup brand to be certain, as some manufacturers use different formulations. If you add toppings like whipped cream, that would make it non-vegan unless you use coconut whipped cream instead. The recipe is also naturally dairy-free, making it perfect for those with lactose intolerance or following plant-based diets.
What size drink does this Blue Raspberry Recipes recipe make?
This recipe makes two 12-ounce servings (24 ounces total), which is equivalent to two medium convenience store slushies. If you want a larger batch for parties, simply double or triple all ingredients proportionally. I’ve successfully made quadruple batches in my 72-ounce Ninja blender for gatherings. Just remember that most blenders max out at around 6 cups of total ingredients, so you may need to blend in batches for very large quantities rather than overloading your blender motor.
Final Thoughts on Making Blue Raspberry Recipes at Home
Making blue raspberry recipes at home is honestly one of the easiest and most rewarding kitchen projects you can tackle, saving you about $3.45 per drink compared to convenience store prices while delivering that same nostalgic, sweet-tart flavor. In just 8 minutes from start to finish, you'll have a perfectly blended, electric blue slushie that tastes virtually identical to the store-bought version you remember from childhood summers. The authentic taste comes from balancing quality blue raspberry syrup with fresh lemon juice – that's the secret most home recipes miss.
Don't be intimidated if you've never made frozen drinks before. I promise that if you follow the liquid-first, ice-second rule and blend for 30-45 seconds, you'll nail the texture on your first attempt. Even if it comes out slightly too thick or thin, you'll still have a delicious blue raspberry treat, and you'll know exactly how to adjust next time.
I make blue raspberry drinks at least twice a week during summer because my kids request them constantly, and honestly, I love them just as much. Friends who try my homemade version are always shocked it's not from 7-Eleven or Sonic – the flavor is that spot-on. The ability to control sweetness and make it healthier with sugar-free syrup means I can enjoy blue raspberry recipes guilt-free year-round.
If you tried this Blue Raspberry Recipes guide, please leave a star rating below and let me know which variation you made in the comments! I read every single one and love hearing about your Blue Raspberry Recipes creations, whether you went classic slushie or experimented with the smoothie version.
Save this recipe by pinning it to Pinterest or bookmarking this page – you’ll want to make Blue Raspberry Recipes again and again all summer long!