
This copycat Starbucks matcha latte tastes even better than the original, and I’m going to show you exactly how to make it at home for a fraction of the price. While Starbucks charges upwards of $5.75 for a grande iced matcha latte, you can make this vibrant green tea drink for less than $2 per serving once you have the ingredients on hand. In this guide, you’ll learn the secret ratios Starbucks uses, how to achieve that perfectly smooth and frothy texture, and all my pro tips for customizing this refreshing beverage to your exact preferences.
Why You’ll Love This Recipe
The taste of this homemade starbucks matcha drink is absolutely incredible, and I genuinely believe it surpasses what you get at the coffee shop. When you make it yourself, you control the quality of the matcha powder, which means you can use ceremonial-grade matcha for a smoother, less bitter flavor with gorgeous umami notes. The Starbucks version uses their proprietary matcha blend that contains sugar already mixed in, but by making your own, you taste the pure, earthy complexity of real Japanese green tea with just the right amount of sweetness that you decide. The result is a creamy, naturally sweet drink with a beautiful jade color that photographs like a dream and tastes even better than it looks.
Let’s talk about the money you’ll save, because the numbers are honestly shocking. A grande iced matcha latte at Starbucks costs between $5.75 and $6.25 depending on your location, and if you’re someone who enjoys this drink even twice a week, you’re spending roughly $50 per month. When you make this starbucks matcha latte recipe at home, each serving costs approximately $1.75 to $2.00, which means you’re saving about $4 per drink. Over the course of a month, that’s a savings of nearly $32, and over a year, you’re keeping over $380 in your pocket. You can invest in high-quality ceremonial-grade matcha powder and still come out way ahead financially, plus you’ll have complete control over every ingredient that goes into your cup.
The customization freedom you get with this recipe is something I absolutely treasure. At Starbucks, your options are limited to their milk selections, their specific matcha blend, and their sweetener choices, but when you’re making this at home, the possibilities expand exponentially. Want to use oat milk one day and coconut milk the next? Done. Prefer honey over simple syrup, or maybe you want to try monk fruit sweetener? Go for it. Feel like adding a shot of espresso to make a dirty matcha latte, or perhaps some vanilla extract for extra depth? You’re the barista now, and you get to experiment until you find your perfect combination. This level of personalization means you’ll never get bored, and you can adjust the recipe based on your dietary needs, taste preferences, or whatever ingredients you have on hand.
I also love how incredibly quick this recipe is to make once you have your ingredients prepped. From start to finish, you can have a café-quality iced matcha latte in your hands in under five minutes, which is often faster than waiting in line at Starbucks during the morning rush. There’s no special equipment required beyond a small whisk or a milk frother, and the technique is so simple that even if you’ve never made a matcha drink before, you’ll nail it on your first try. The process is actually quite meditative—whisking the vibrant green matcha powder into a smooth paste, watching it swirl into the milk, and pouring it over ice—and it’s become one of my favorite morning rituals that sets a peaceful, intentional tone for the rest of my day.
This recipe also fits seamlessly into so many different lifestyles and dietary preferences. Whether you’re dairy-free, vegan, watching your sugar intake, or just someone who appreciates a good green tea latte recipe, this drink adapts beautifully. The matcha provides a gentle, sustained energy boost from its natural caffeine content combined with L-theanine, which means you get alertness without the jitters or crash that sometimes comes with coffee. It’s become my go-to afternoon pick-me-up, and I love knowing exactly what’s in my drink—no mysterious ingredients, no artificial flavors, just pure, simple, delicious matcha goodness that nourishes my body while satisfying my Starbucks cravings.
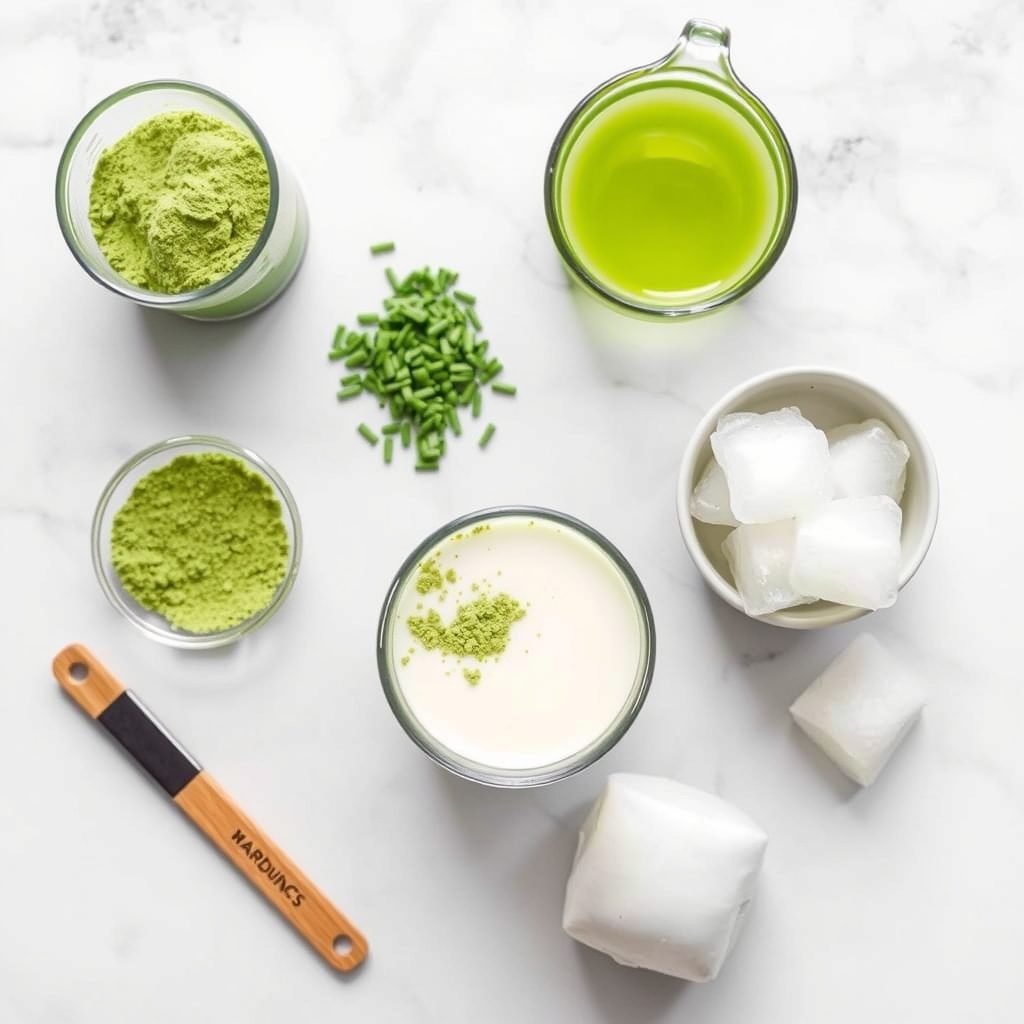
What You’ll Need
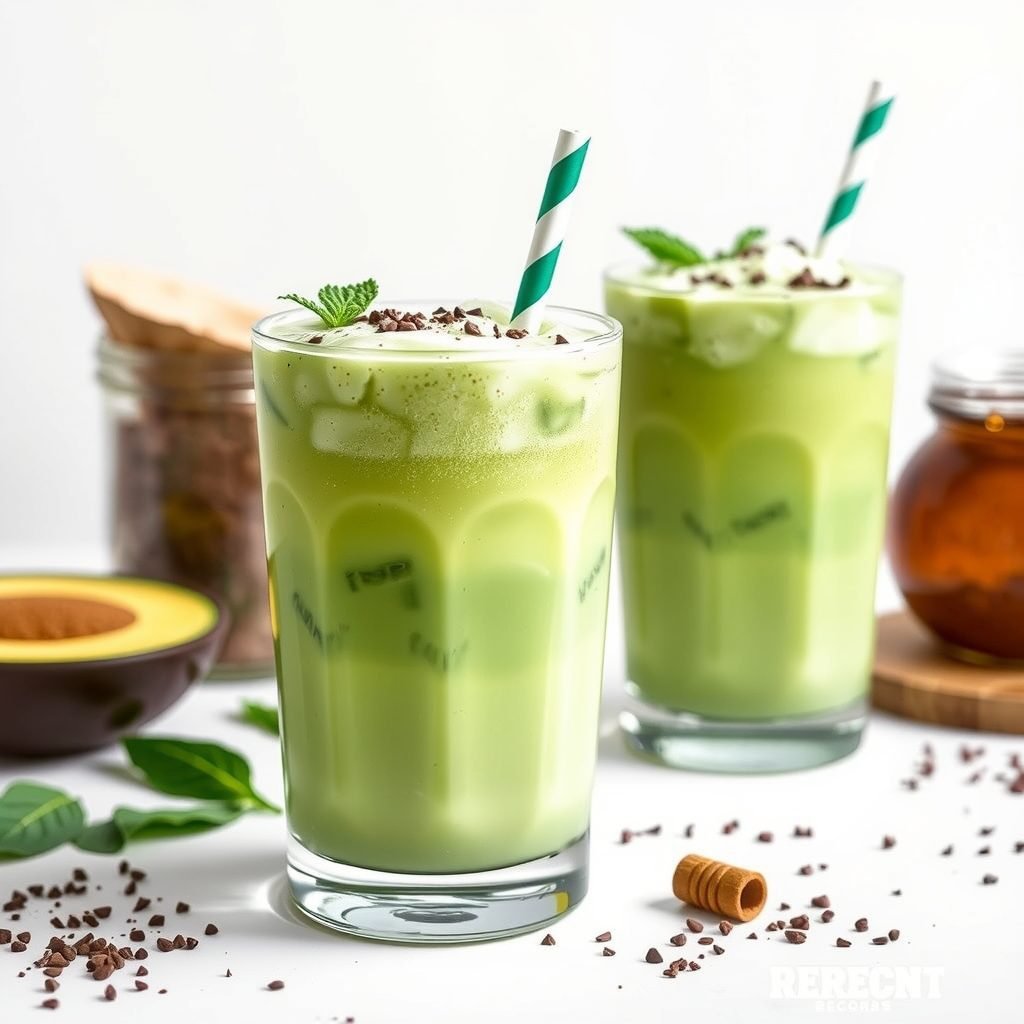
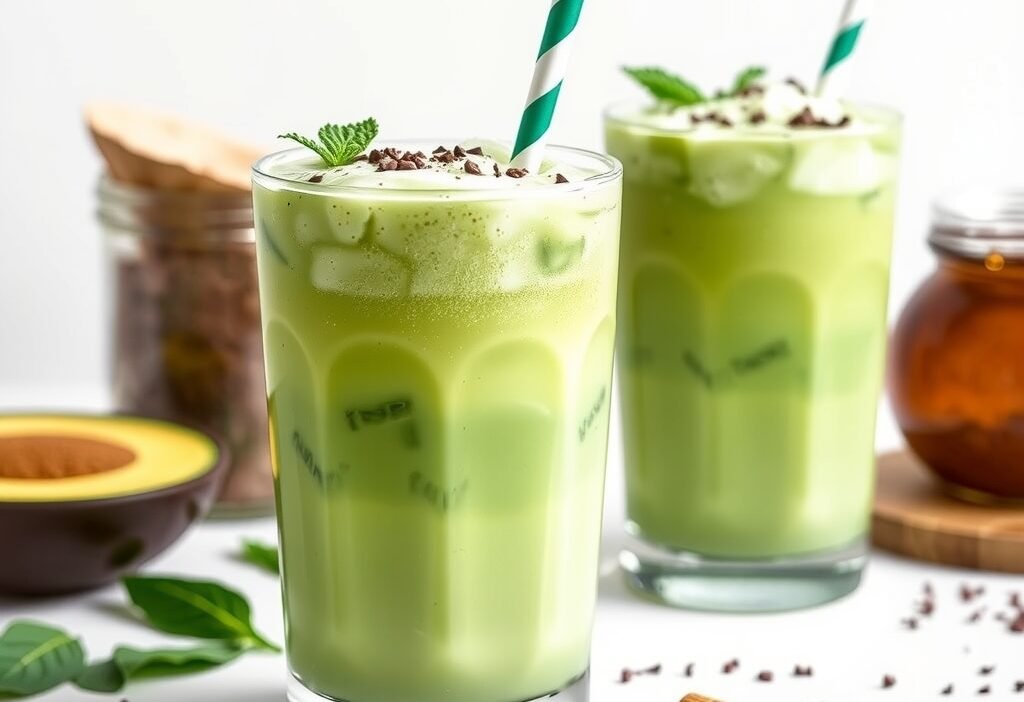
 Matcha Latte Recipe copycat recipe” src=”data:image/svg+xml;base64,PHN2ZyB3aWR0aD0iMSIgaGVpZ2h0PSIxIiB4bWxucz0iaHR0cDovL3d3dy53My5vcmcvMjAwMC9zdmciPjwvc3ZnPg==” class=”lazyload” style=”–smush-placeholder-width: 1024px; –smush-placeholder-aspect-ratio: 1024/1024;” />
The Matcha Powder
The star of this copycat matcha latte recipe is, of course, the matcha powder itself, and the quality you choose makes an enormous difference in the final taste. I recommend using culinary-grade or ceremonial-grade matcha powder from Japan, with ceremonial grade being the highest quality with the smoothest, sweetest flavor and the most vibrant green color. Look for matcha that’s bright, vivid green rather than dull or yellowish, as this indicates freshness and proper processing. You can find excellent matcha at Asian grocery stores, specialty tea shops, or online retailers, and while it might seem pricey upfront, a little goes a long way—one tin will make dozens of lattes. If you’re on a budget, culinary-grade matcha works perfectly well for lattes since you’re mixing it with milk and sweetener, though ceremonial grade will give you that extra-smooth, non-bitter taste that really elevates the drink.
The Milk Base
The milk you choose creates the creamy foundation that balances the earthy matcha flavor, and this is where you have tremendous flexibility based on your preferences. Starbucks typically uses 2% milk as their standard, which creates a nice balance of creaminess without being too heavy, but whole milk will give you an even richer, more luxurious texture that I personally love. The fat content in the milk helps mellow out any bitterness from the matcha and creates that signature latte mouthfeel, so if you’re using a plant-based alternative, I recommend choosing one with higher fat content like oat milk or coconut milk rather than watery options like almond milk. Barista-blend versions of plant milks are specifically formulated to froth and mix well, making them ideal for this homemade iced matcha recipe, and they typically contain added fats and stabilizers that prevent separation.
The Sweetener
Sweetener is essential in this recipe because it balances the natural bitterness of the matcha and creates that signature Starbucks taste that people crave. Starbucks uses a matcha powder that already contains sugar, so when you’re working with pure matcha, you’ll need to add your own sweetener to achieve a similar flavor profile. Simple syrup is my top recommendation because it dissolves instantly in cold liquids without any grittiness, and you can easily make a batch at home by dissolving equal parts sugar and hot water, then storing it in the fridge for up to a month. Alternatively, you can use honey, agave nectar, maple syrup, or sugar-free sweeteners like stevia or monk fruit if you’re watching your sugar intake. The key is to add the sweetener to the matcha paste before adding the milk, as this helps everything incorporate smoothly and prevents any clumping or settling at the bottom of your glass.
The Ice and Water
You’ll need both a small amount of hot water and plenty of ice to create the perfect iced matcha latte texture and temperature. The hot water is crucial for creating a smooth matcha paste without clumps—it helps the powder dissolve completely and activates the flavor compounds in the tea. I use water that’s hot but not boiling, around 175°F to 180°F, because boiling water can actually scorch the delicate matcha and create a bitter taste. For the ice, I recommend using larger cubes rather than small crushed ice, as larger cubes melt more slowly and won’t dilute your drink as quickly. If you’re feeling fancy, you can even make matcha ice cubes by freezing leftover matcha or green tea in ice cube trays, which means your drink stays flavorful and strong even as the ice melts.
The Equipment
While you don’t need any fancy equipment to make this starbucks matcha latte dupe, a few simple tools will make the process much smoother and more enjoyable. A small bamboo matcha whisk (called a chasen) is traditional and works beautifully for creating a lump-free paste, but a regular small whisk or even a milk frother will work just as well. I’ve even made this successfully by shaking the matcha and water together in a small jar with a tight lid, though you may need to shake vigorously for longer to eliminate all the clumps. A tall glass is essential for the full iced latte experience, and I love using a clear glass so you can see the beautiful layers before you stir everything together. If you’re making multiple drinks or want to batch prep, a small bowl for mixing the matcha paste and a liquid measuring cup for the milk will make the process more efficient.
Pro Tips Before You Start
- Sift your matcha powder first if you notice any clumps in the container, as this will make whisking much easier and results in a perfectly smooth drink. Matcha naturally clumps together due to its fine texture and static electricity, so running it through a small fine-mesh sieve before adding water eliminates those frustrating lumps that never seem to dissolve no matter how much you whisk. I keep a dedicated small sifter just for my matcha, and it takes only ten extra seconds but makes a world of difference in the final texture.
- Create a paste first, then add more liquid gradually rather than trying to mix matcha directly into a full glass of milk, which will result in clumps and uneven distribution. Start by whisking your matcha powder with just a tablespoon or two of hot water until you have a smooth, thick paste with no visible lumps, then gradually add more water while whisking continuously. This technique, borrowed from traditional matcha preparation, results in every particle of powder being fully hydrated and dissolved before you add the cold milk, giving you that signature smooth Starbucks texture.
- Use room temperature or cold milk rather than milk straight from the fridge if you want your ice to last longer and your drink to stay colder. When you pour ice-cold milk over ice, the temperature difference isn’t as dramatic, which means less melting and less dilution of your carefully crafted matcha flavor. I usually take my milk out of the fridge about fifteen minutes before making my latte, or I measure out what I need and let it sit on the counter while I prepare the matcha paste.
- Adjust your matcha-to-milk ratio based on how strong you like your green tea flavor, because personal preference varies widely and there’s no single “right” amount. Starbucks uses a specific number of scoops based on drink size, but when you’re making this at home, you can customize the intensity to match your taste. If you’re new to matcha, start with less powder and work your way up, as the earthy, vegetal flavor can be overwhelming if you’re not used to it. Conversely, if you’re a matcha devotee like me, you might want to add extra powder for a more pronounced green tea taste that really stands up to the milk.
- Sweeten to taste before adding ice and milk so you can accurately gauge the sweetness level without the dilution factor. I always taste my matcha paste after adding the sweetener and adjust if needed, because once you’ve poured it over ice and added milk, it’s much harder to incorporate additional sweetener evenly. Remember that the ice will dilute the drink slightly as it melts, so you might want to make it just a touch sweeter than you think you’ll like.
- Whisk in a zigzag or “W” motion rather than circular stirring if you’re using a traditional bamboo whisk, as this technique is more effective at breaking up clumps and incorporating air for a slightly frothy texture. The back-and-forth motion creates more agitation and movement in the liquid, making sure every bit of matcha powder gets thoroughly mixed. If you’re using a milk frother, pulse it in short bursts rather than running it continuously, which can create too much foam and splatter the bright green matcha all over your counter.
- Make a double or triple batch of simple syrup and store it in the fridge so you always have it ready when a matcha craving hits, because waiting for sugar to dissolve in cold liquid is frustrating and time-consuming. Simple syrup keeps for several weeks in the refrigerator and is useful for so many other drinks beyond just this matcha latte. I keep mine in a small squeeze bottle for easy dispensing, and I often make flavored versions with vanilla extract, lavender, or even a touch of rose water to add extra dimension to my lattes.
- Don’t skip the hot water step and try to mix matcha directly with cold milk, as this is the number one mistake I see people make and it results in a gritty, clumpy drink that’s nothing like the smooth Starbucks version. Matcha powder needs heat to properly dissolve and release its flavors, and while you can use cold water if you’re willing to shake or blend vigorously, hot water makes the process so much easier and more reliable. Think of it like making a proper cup of cocoa—you always mix the powder with a little hot liquid first to create a paste, then add the rest of the cold or hot liquid afterward.
How To Make Copycat Starbucks Iced Matcha Latte Recipe (Better Than the Original!)
Making this incredible how to make starbucks matcha latte at home is genuinely easier than you might think, and once you’ve done it a few times, the process becomes second nature. You’ll start by sifting your matcha powder into a small bowl or cup, then adding a splash of hot water and whisking vigorously until you have a smooth, vibrant green paste without any lumps—this is the crucial step that results in a silky drink rather than a gritty one. Next, you’ll stir in your sweetener of choice while the mixture is still warm so it dissolves completely, then add a bit more water to thin the paste into a concentrated matcha liquid. Finally, you’ll fill your glass with ice, pour in your cold milk of choice, and then pour the matcha mixture over the top, watching as it cascades through the white milk creating those gorgeous green swirls before you stir everything together into a perfectly balanced, café-quality drink that rivals anything you’d get from the official Starbucks drinks menu.